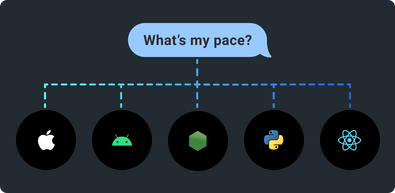
Keyword Recognition
Local on-device keyword spotting — recognize any sound whether or not it's part of a langauge.
Get started free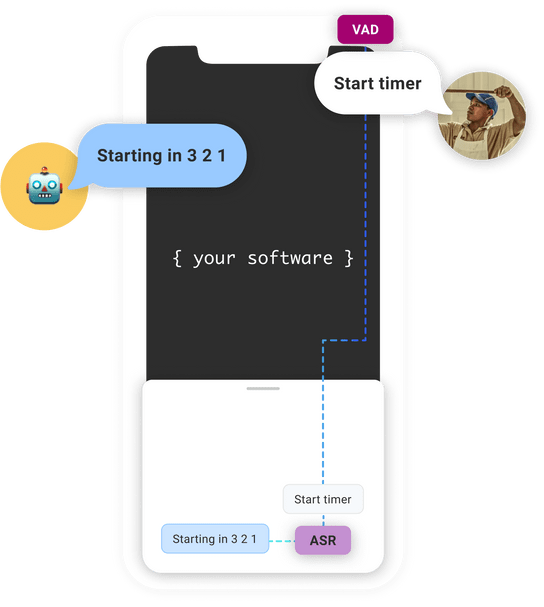
What is Keyword Recognition?
Instead of having to recognize and respond to anything that can be said, like a voice assistant, why not just act on what your users know software can do?
Your custom multilingual on-device model recognizes pre-defined keywords, sending a transcript of trained commands, each associated with one or more utterances. That’s the insight behind keyword recognition.
Your software listens for multiple brief commands and supports variations in phrasing for each of them—using a fast, lightweight model—without user audio leaving the device.
Why Should I Use Keyword Recognition?
The main use cases for keyword models are in domains with limited vocabularies or apps that only wish to support specific words or phrases.
The main benefits of choosing a keyword model over traditional ASR are:
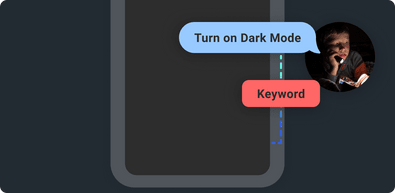
Hands-Free
Accessible, safe, natural.
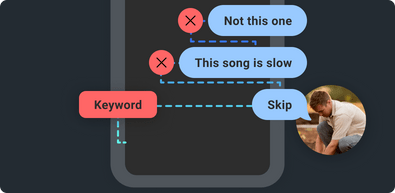
Edge-Based
Only activating your software when it’s directly addressed processes audio as efficiently as possible.
Energy-Conscious
Running fully on device (without an internet connection) is fast and consumes little power.

Privacy-Minded
Rather than listen to audio, only answer “Did I hear on the keywords you trained me to listen for?” All other sounds are immediately forgotten.

Portable
Constraining your app’s vocabulary means a lightweight customized recognition model.
Use Case for Keyword Recognition
Imagine an app designed to control music while running. Classes could be named play and stop — we'll just talk about two for sake of brevity.
Utterances (variations) for play could include:

Utterances (variations) for stop could include:

If a user says any of the above utterances, your app would recieve a transcript, but the utterances are normalized in a transcript to one of your two commands, play and stop, making it easy to map the command to the proper app feature.
How Do Keyword Recognition Models Work?
A keyword recognizer or keyword spotter straddles the line between wake word detection and speech recognition, with the performance of the former and the results of the latter. A keyword model is trained to recognize multiple named classes, each associated with one or more utterances. When the model detects one of these utterances in user speech, it returns as a transcript the name of the keyword class associated with that utterance.
A keyword detector is trained using machine learning models (like what you create with no code using Spokestack Maker or Spokestack Pro) to constantly analyze input from a microphone for specific sounds. These models work in tandem with a voice activity detector to:

- Detect human speech
- Detect if preset keyword utterance is spoken
- Send transcript event to Spokestack's Speech Pipeline so you can respond
The technical term for what a keyword recognition model does is multiclass classification. Each keyword is a class label, and the utterances associated with that class are its instances. During training, the model receives multiple instances of the keyword classes and multiple words and phrases that don't fit into any of the classes, and it learns to tell the difference.
This probably sounds similar to the training process for a wake word model, and that's because it is: Spokestack's wake word and keyword recognition models are very similar, with small differences at the very end to allow the keyword model to detect multiple classes and return the label of the class that was detected.
- One for filtering incoming audio to retain only certain frequency components
- One for encoding the filtered representation into a format conducive to classification
- One for detecting target words or phrases

Creating a personal keyword model is straightforward using Spokestack Maker or Spokestack Pro, a microphone, and a quiet room.
1 Create a Keyword Recognition Model

First, head to the keyword builder and click Create model in the top right. A section for a new model will appear. Change the model's name.
2 Add and Record Utterances

Then, look for the Keywords section. This is where you'll add the words or short phrases that make up your recognizer's vocabulary. Use Add Keyword to compose your list; for each keyword you add, follow this process:
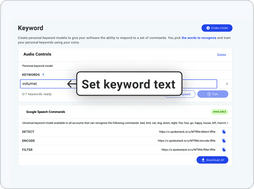
1. Set keyword text
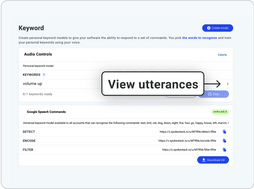
2. Click the arrow to the right of the keyword to view utterances.
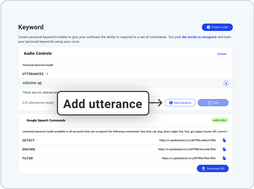
3. Use Add Utterance to add new utterances to the selected keyword.
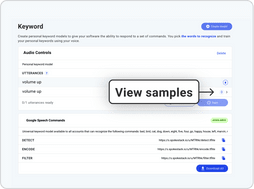
4. Click the arrow to the right of an utterance to view samples.

5. Click Record at the bottom of the box to add new samples.
Note the extra steps here compared to the process for creating a wake word model. This reflects the difference between the two types of model.
When you create a keyword recognizer, the list of keywords are the only text your app will ever see. Each one of those keywords, sometimes referred to as keyword classes in technical documentation, can be thought of as its own miniature wake word model, in that it can have different utterances that trigger it. This is why you have to add a keyword and an utterance in order to begin recording samples: a keyword for establishing the text you want returned to your app as a transcript, and an utterance to represent the text mapped to that keyword.
Each keyword can have one utterance that simply matches the keyword's name (or doesn't, if you want to change the formatting/spelling of some word before your app sees it), or several that should all be normalized to the same text before your app sees it. The keyword name itself has no correlation to the audio meant to trigger it.
3 Train Your Model

When you've added as many different keywords and utterances as you want and recorded all your samples, click Train. That's all there is to it! In a few minutes you'll be able to download and use your very own keyword model. You can retrain as many times as you like, adding or deleting keywords, utterances, and samples as necessary.
How Do I Use a Keyword Recognition Model?
For mobile apps, integrate Spokestack Tray, a drop-in UI widget that manages voice interactions and delivers actionable user commands with just a few lines of code.
let pipeline = SpeechPipelineBuilder()
    .addListener(self)
    .useProfile(.vadTriggerKeyword)
    .setProperty("tracing", Trace.Level.PERF)
    .setProperty("keywordDetectModelPath", "detect.tflite")
    .setProperty("keywordEncodeModelPath", "encode.tflite")
    .setProperty("keywordFilterModelPath", "filter.tflite")
    .setProperty("keywordMetadataPath", "metadata.json")
    .build()
pipeline.start()
Try a Keyword in Your Browser
Test a keyword model by pressing “Start test,” then saying any digit between zero and nine. Wait a few seconds for results. This browser tester is experimental.
Say any of the following utterances when testing:
zero, one, two, three, four, five, six, seven, eight, nine
Instructions
- Test a model by pressing "start test" above
- Then, try saying any of the utterances listed above. Wait a few seconds after saying an utterance for a confirmation to appear.
Full-Featured Platform SDK
Our native iOS library is written in Swift and makes setup a breeze.
Explore the docs